

How To Repair Hp Laptop Hinge
Z7_3054ICK0KGTE30AQO5O3KA30N0
Remove and Supercede the Display Panel Hinges for Pavilion 15-abXXX Notebook PCs
This certificate applies to HP Pavilion xv-abXXX notebook computers.

Before you begin
-
Have available a pair of tweezers, a not-metallic prying tool, and a Phillips-head screwdriver.
-
Turn off the computer. Disconnect the Ethernet or modem cable. Disconnect the ability cord.
-
Transfer the computer to a clear, flat, stable piece of work surface over a non-carpeted flooring.
-
HP strongly recommends the use of an anti-static wrist strap and a conductive foam pad when working on the computer.
-
After removing static sensitive components, place them in static dissipative numberless. Exercise not remove a component from its protective packaging until you are gear up to install it.
alert:Before starting, power off the estimator and wait for components to cool before starting these procedures. Make sure the computer is disconnected from power earlier starting.
caution:This product contains components that can be damaged by electrostatic discharge (ESD). To reduce the chance of ESD damage, work over a non-carpeted floor, use a static dissipative work surface (such as a conductive foam pad), and wear an ESD wrist strap connected to a grounded surface.
caution:Procedures in this certificate are provided by HP for qualified service agents and equally a courtesy to its customers. Servicing internal components increases the risk of dissentious the estimator which might not be covered under warranty. Sympathize the chance and refer to the product's warranty earlier attempting to service the computer.
Video overview
View the following video before using the steps in this article.

note:The video and graphics in this commodity depict a specific configuration of notebook figurer. These same removal and replacement procedures apply to all configurations of HP Pavilion 15-abXXX notebook computers.
Removing the brandish panel hinges
To remove the brandish console hinges from the top encompass, beginning follow the instructions to remove other components to gain access to the display panel hinges.
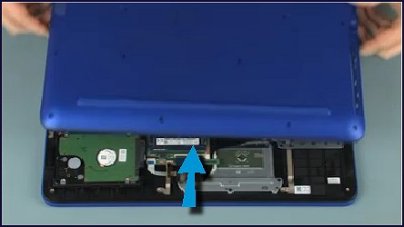
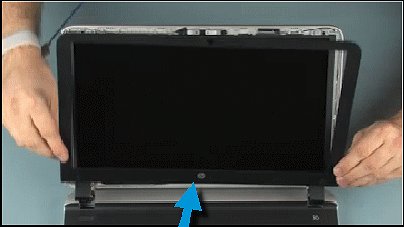
| Footstep 1 First remove the battery, optical drive, rear corner covers, base of operations enclosure, wireless module and the brandish panel assembly. For detailed instructions see the HP support document, Remove and Supplant the Display Panel Assembly. | |
| Footstep 2 Remove the brandish bezel. For detailed instructions run across the HP support document, Remove and Replace the Brandish Bezel. | |
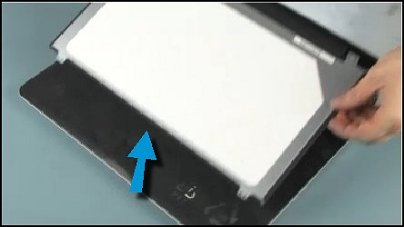
| Step three Remove the display console. For detailed instructions run across the HP support document, Remove and Replace the Display Panel. | |
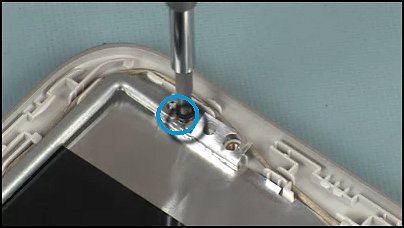
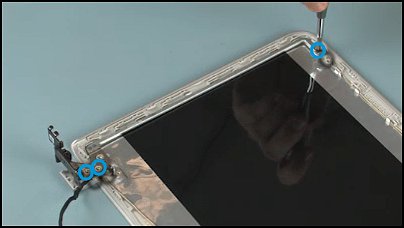
| Step 4 Remove the ii 3 mm P1 Phillips broad-head screws that secure the left display panel hinge to the display enclosure. | |
| Step v Remove the ii.v mm P1 Phillips-head screw that secures the left display panel hinge to the display enclosure. | |
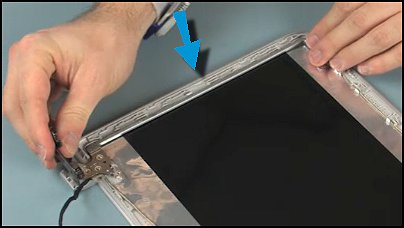
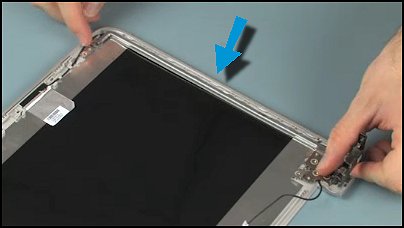
| Step half dozen Lift the left display panel hinge off of the alignment pins on the brandish enclosure and remove. Remove the right display console hinge in the aforementioned style. | |
Replacing the display panel hinges
Use the following instructions to replace the removed components and then the display panel hinges.
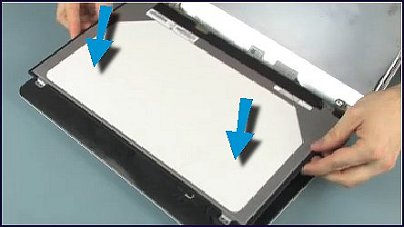
| Stride ane Identify the left display panel hinge onto the alignment pins on the brandish enclosure. | |
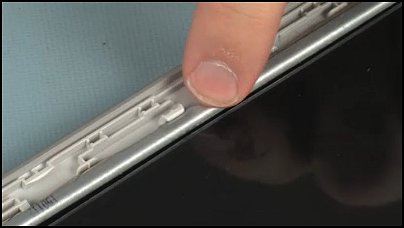
| Step 2 Make certain the left display panel hinge is nether the retention tab on the display enclosure. | |
| Footstep 3 Supersede the two.5 mm P1 Phillips-head screw that secures the left brandish panel hinge to the display enclosure. Replace the two 3mm P1 Phillips-head screws that secure the left display panel hinge to the meridian brandish enclosure. | |
| Step 4 Replace the right brandish console hinge and the screws in the same style, placing it carefully on the display enclosure and replacing the the Phillips-head screws. | |
| Step 5 Supercede the display console. For detailed instructions come across the HP support document, Remove and Replace the Display Console. | |
| Stride 6 Supercede the display bezel. For detailed instructions see the HP support document, Remove and Replace the Display Bezel. | |
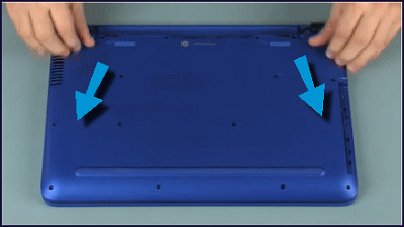
| Stride 7 Supervene upon the brandish panel assembly, wireless module, base enclosure, rear corner covers, optical drive, and the battery. For detailed instructions see the HP support document, Remove and Supercede the Display Panel Assembly. | |


Source: https://support.hp.com/ca-en/document/c04849879
Posted by: hilliardquieron.blogspot.com
0 Response to "How To Repair Hp Laptop Hinge"
Post a Comment